Now, as the original tutorial says, this tutorial is very stock heavy. I wanted my image to be based around music like the original, so I have gathered stock images based around that genre. You can get stock images at GettyImages, Corbis, etc. Here are what I used: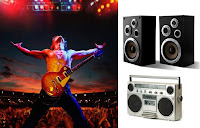
1) Create a 600x450 image with a white background. Filters > Render > Clouds > Solid Noise.
X Size: 11
Y Size: 7
Leave everything else default and click Ok.
2) Filters > Noise > Spread
Horizontal: 20
Vertical: 20
Click Ok.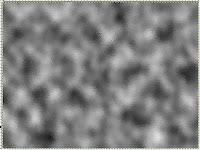
3) Filters > Artistic > Oilify
Mask Size: 24
Exponent: 16
Click Ok
4) Filters > Artistic > Apply Canvas; Click Ok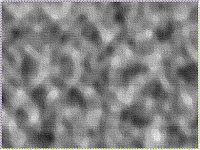
(This is about as close as I could get to the original.)
5) Filters > Noise > Slur; Leave the settings like last time and apply. Save it. Keep that texture for later.
6) Open up your image of your person. Crop the background of the picture out to where it is just your person.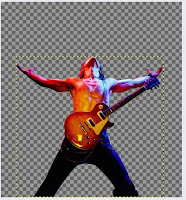
Colors > Desaturate and click Ok. Duplicate the layer. Colors > Threshold. Play around with the slider until you get something you like. Click Ok. Now lower the opacity of the layer you changed the threshold on.
7) Add in your other stock images, desaturate them, and arrange them to form a nice image.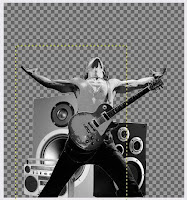
8) Now we need a crinkled paper texture. You can download the one I used here. Merge all the layers of your image. Open the paper texture in with your image, behind all the other layers. Create a selection with the paths tool around your person and objects like mine below: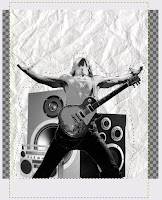
9) Copy the selection (provided everything is in one layer) and paste it onto the texture we made earlier. Lower the opacity of the texture and give the background a color of your choosing. Position the image of the person and the speakers toward the bottom left, and give it a drop shadow by going to Filters > Light and Shadow > Drop Shadow. Play around with the settings until you find something you like. I also added some notes by drawing them with a brush and adding the paper and drop shadow to it like before.
10) Now add some halftone effects, brushes, etc. Just kinda play around with it. For the halftone effect, I used the brushes found here and here. For the other brushes, go to DeviantArt and search "vector brushes." For the amazing urban vector brushes, go here. Remember to change sizes, opacities, etc. to get a neat effect. In the end, you should have a totally amazing urban style piece of artwork. Enjoy.
Modified by Fireworks Tutorials, Flash Tutorials, Illustrator Tutorials, GIMP Tutorials and by Photoshop Tutorials.