Alright, so today I'm going to teach you all how to make a vector poster like my rubber ducky poster, titled "Kicking Ass and Taking Names," which can be found here (click it to view it full size, as with all of the images in the tutorial):
The rubber duck image that the vector itself is based off of was actually an image that I had taken of a little rubber ducky of mine. You can download it full size by clicking the preview below. It should be the only image we need for the entire tutorial. Yes I know the picture is blurry, but please bear with me. My camera isn't the best...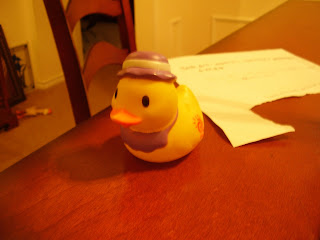
You will also need a couple of brushes. This collection of 387 Abstract Brushes by PAULW on DeviantART and these Foliage Swirls brushes by Obsidian Dawn will suffice.
We will also use the font called Fluoxetine from DaFont.com. Download it and install it.
1) Create a new 700x900 image on a white background. We need to keep a simple color theme going on through out the entire image. Get a small theme set up that you can work with. Here are some sample themes below.
I am going to use set #1. Remember what set you will use later.
2) Open up the picture of the rubber ducky and render it. While you render it, decide whether or not you want the duck's bib and hat. If you don't leave them out in the rendering. I've decided I don't want them, so it should look like this if you decide the same: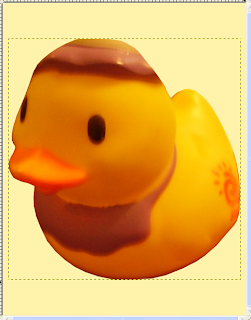
Yeah I know it looks funny, but we'll fix it. I promise. Paste the duck onto a new layer named "ducky."
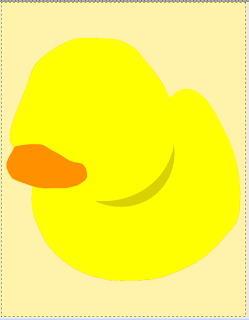
3) Create a new layer and name it "body." This layer will contain, respectfully, the body of the duck. Now, to actually make the duck, we are going to do it a bit differently than how I originally made it in Photoshop. We don't have a custom shapes tool, so we will have to do without it. Right click on the duck and click alpha to selection. Fill it in like I have with the brush tool, using the color next to black in the sample themes.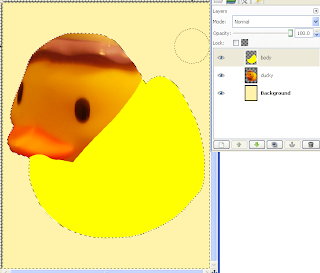
4) Create another new layer and name it "head." This will be for the duck's head. Again, with the selection still active, paint over the head on the new layer. You should now have a completely filled in duck body. Deactivate the selection.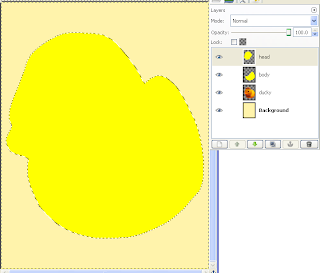
5) Create a new layer and name it "beak." Hide the head and the body layers. Get out the path tool and trace around the beak. Fill it with orange #ff9100. Deactivate the selection. Unhide the body and head layers to see what your ducky looks like so far.
6) Let's add a shadow to define where the head is in comparison to the body. Create a new layer named "shadow." Hide the head and body layers. Use the path tool like I have below and then turn it into a selection. Fill with a darker color based off of what the main color of your ducky is. For me, it's #b7a404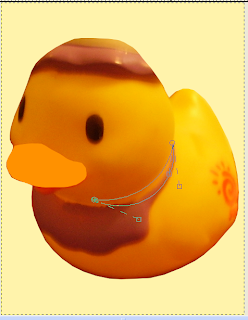
7) Now for the eyes. Create a new layer and name it "eyes." Hide the head layer, and use the ellipse tool and trace around the area of the eyes. Fill with black. Then, create a smaller circle within the black circle and fill it with white, to serve as a reflection.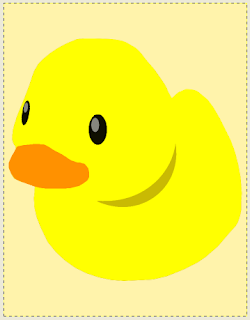
I realize it's a tad bit too sharp, but we'll fix that later.
8) Now for the eyebrows. Create a new layer named "eyebrows." With the path tool, draw eyebrows onto the duck. Fill with black.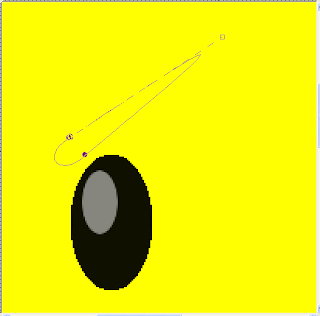

9) Now you can merge all parts of the duck together. Your duck should now be on one layer. We are now going to add the background designs. I've also decided to enlarge the canvas a bit, so we have room for the text which will be placed at the top later on.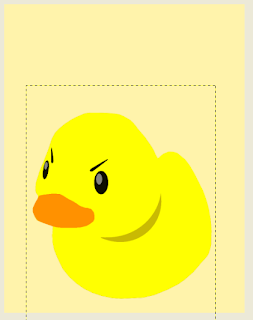
10) Create a new layer between the duck and the background named "vector stuff." Use the color that is second to the left in the samples above. For me, it's #ecd48c. Use the vector brushes in the vector brush pack you downloaded and try to recreate something like mine. Be sure to use the arrows and make them face downward like in my image. Remember to use the SPARINGLY. Lower the opacity as needed.
11) Now we will add the foliage. Create a new transparent layer between the "vector stuff" layer and the "ducky" layer named "foliage." Using white as your color, apply the foliage brushes like in my image below. Remember to use them SPARINGLY. Lower the opacity as needed.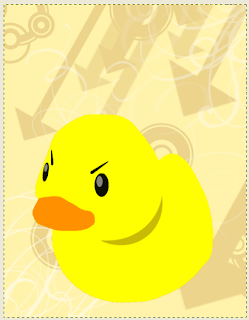
12) Now for the yellow bars that are placed across the image. These bars are manually created. Create a new layer between the "ducky" layer and the "foliage" layer. Get out the rectangular select tool. Create a selection and fill it with whatever color your ducky is. For me, it's #ffff01. After you've filled it with your color, deactivate the selection.
13) Get out the shear tool and do like I have done in the picture below.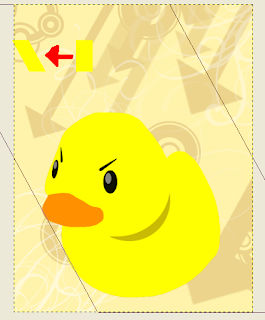
14) Now duplicate the layer your rectangle is on. Place your new rectangle next to it. Keep doing this until you get a nice sized bar.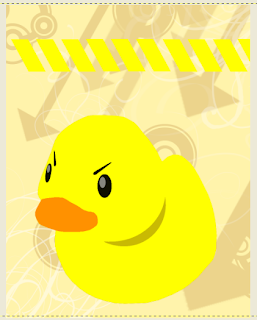
15) Rotate and resize the bar as needed. You can duplicate this bar to place it in more than one spot.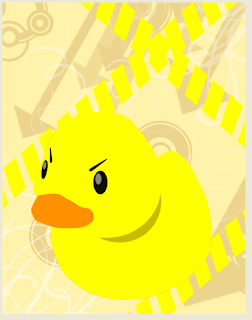
16) Ok we should have done this earlier, so let's go ahead and do it. Now we'll give the duck a shadow. Select the ducky layer and go to Filters > Light and Shadow > Drop Shadow.
X Offset: -2
Y Offset: 0
Blur Radius: 5
Color: Black
Opacity: 70
Click ok.
I had to select the drop shadow layer and move it with the move tool to position it just right.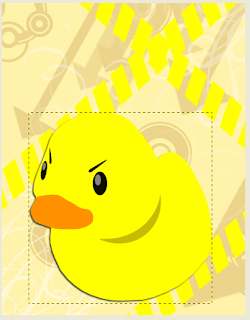
17) Now for the final touch, we will add the "Kicking Ass and Taking Names" phrase. Get out the text tool and add it using the font we downloaded. Play around with how you add the text.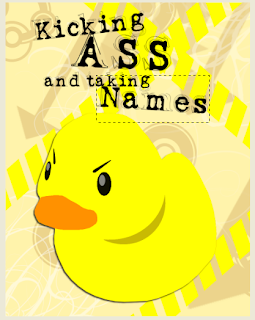
18) Save it and you're done! Click it to view it full size!!
Modified by Fireworks Tutorials, Flash Tutorials, Illustrator Tutorials, GIMP Tutorials and by Photoshop Tutorials.