Before: | After: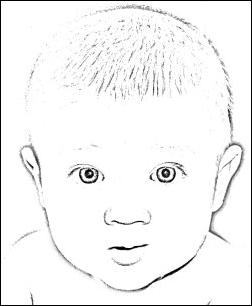 |
1. High pass filtering
High pass filtering means that we filter away the low frequencies of something, and let the high frequency bands pass. In image terms, this means that the detail of an image is kept, while the larger scale gradients are removed. Luckily, it's not as complicated as it sounds.
First, duplicate the layer.
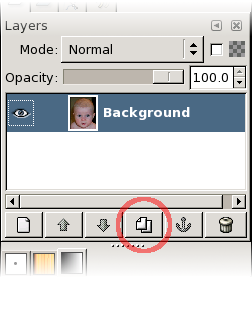
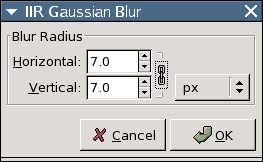
Then Gaussian Blur the top layer with an appropriate radius.
You need to experiment to find good values, but roughly speaking one can say that the larger the radius, the wider the high pass filter's frequency response, and the "fatter" the lines in the final sketch. In this example I used 7 pixels, giving this result;
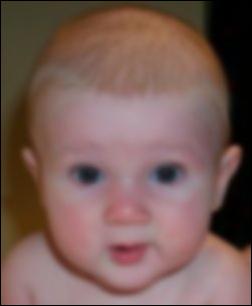
Now we have a low pass filtered version of our image; all gradients and no detail. Exactly the opposite of what we wanted. So, how do we obtain a high pass filtered version? Why, we subtract it from our original, of course. A good way to do that is to simply Invert the image, and blend it 50-50 with the original. First, Image->Colors->Invert;
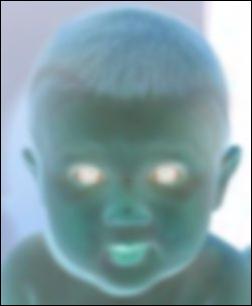
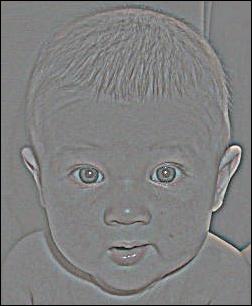
Then, to blend the two, we adjust the Layer's Opacity slider to 50%, and our high pass filtered image appears;
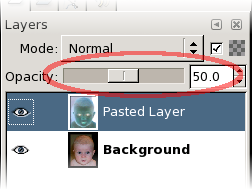
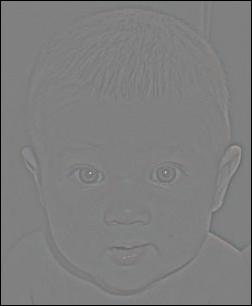
Now it's time to Merge the two layers, so that we can continue to process them as one. Right-click on the top layer and pick Merge Down.
Now, back to the image. Was the effect a bit too subtle, perhaps? While not necessary, we can apply the Levels tool (Layer->Colors->Levels) to increase the contrast a bit, so that it's easier to inspect visually. In this example, I set Input Levels to 100-155;
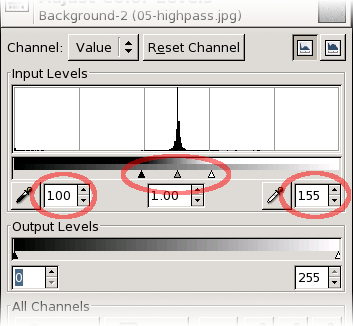
2. The sketch part
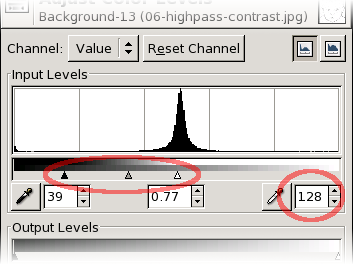
Now it's time to make the image background white. First, Layer->Colors->Desaturate the image, and fire up that Levels tool again. Here you need to experiment a bit to find the best values for your image. But you will most likely want to set max Input Level (the right value) to 128 or thereabout. This makes the 50%-grey part of the image go white, which is a good start. (If you look at the Levels histogram, you should notice a strong peak in the middle. This is where we want the Max Input Level.)
The primary target of experimentation would be the gamma value field in the middle (the grey triangle just below the histogram). With a bit of tweaking, you could end up with something like this;
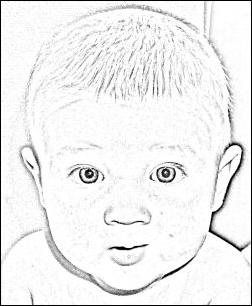
That's pretty much it. I tend to want to hand-polish my images to get rid of various imperfections, though. Below is the result of softening the contrast on the lower right region, which is where the bright skin fell against the black background; The higher the contrast, the stronger the lines. I also fine-tuned the overall contrast (with Levels) to get rid of some of the noise in the face;
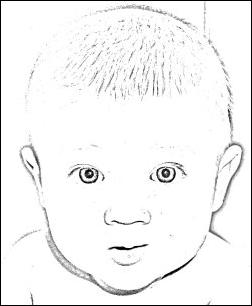
Finally I wanted to remove the annoying shadow below his chin and some of the specks scattered around his face, so I manually hand-brushed away parts of it, giving the final result;

Voila. That's it. Hope you liked it. :)