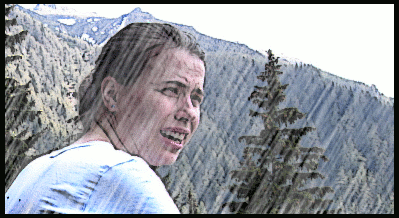
In this tutorial we will fake a rain animation effect using GIMP. The end result should be something like this:
Now let's proceed at work, step by step:
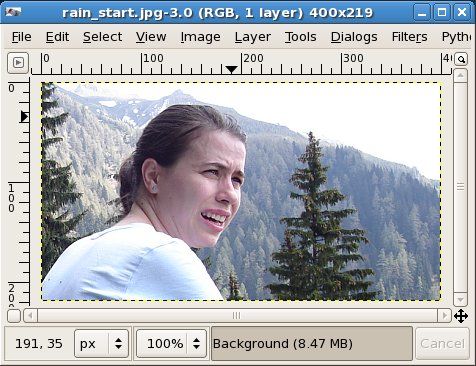
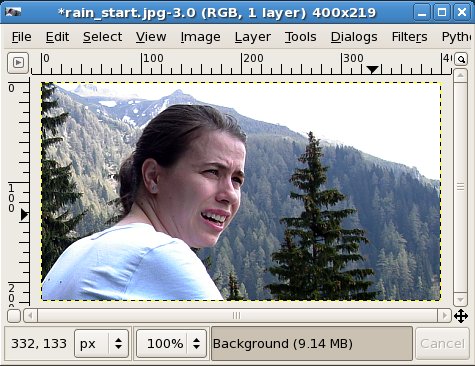
- Select a start image, something that will fit with the rain, here I used a photo, but you can apply it also to a drawing. As I intend to get something gloomy, I made the picture darker (use whatever way you want: color levels, color curves, brightness/contrast. etc.
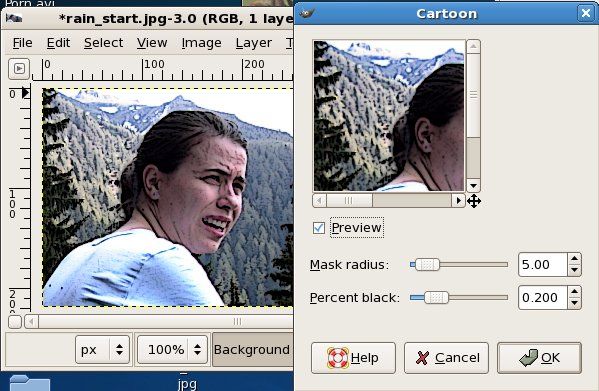
- Also for an increased unnatural and gloomy effect, I used a Cartoon filter (Filters > Artistic > Cartoon), but this step is entirely optional.
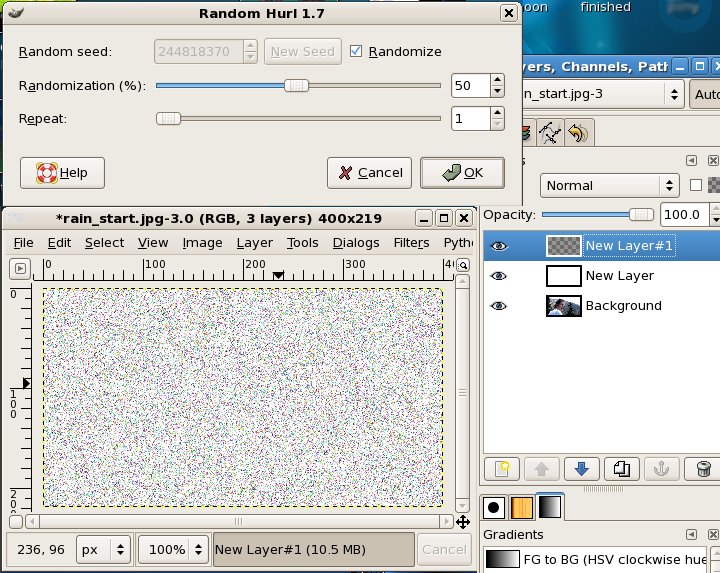
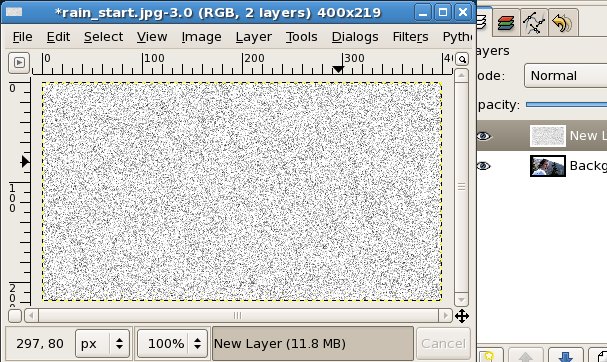
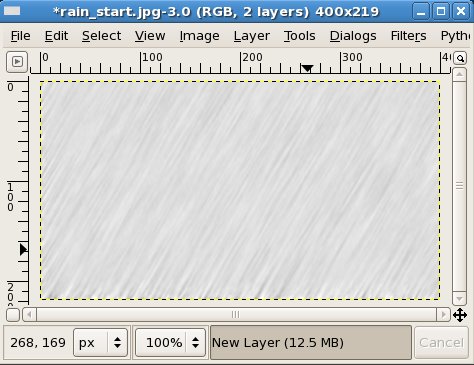
- Add a new layer, fill it with white and yet another layer, make it transparent. Fill the transparent layer with random noise (filters > Noise > Hurl; make sure Randomize is checked). Merge the two layers, we need only one (you can skip the creation of the white layer, it was used in the tutorial to show a clearer picture of what it happens, the transparent one is enough). Make it grayscale (I used Layer > Colors > Desaturate).
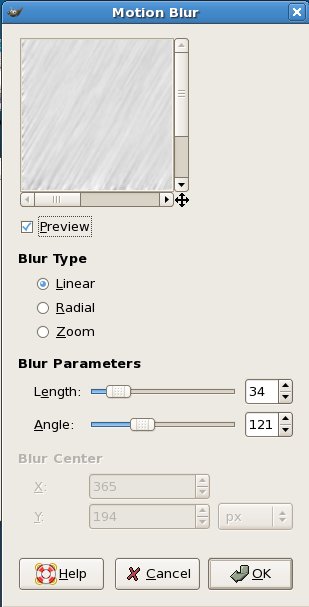
- Apply a Blur filter (Filters > Blur > Blur) and a Motion Blur filter (Filters > Blur > Motion Blur), leave it as Linear and adjust the Length and Angle.
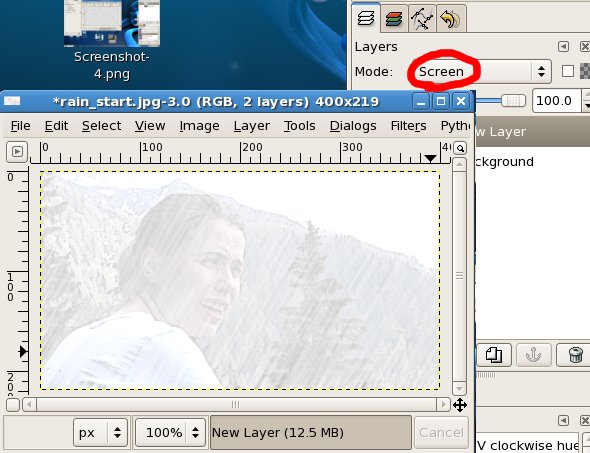
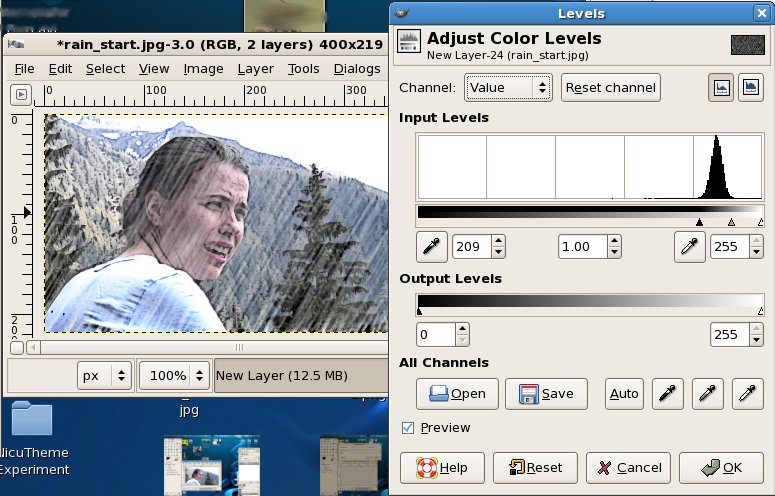
- Change the Layer mode for the noise layer to Screen and adjust its Color Levels as shown (Tools > Color Tools > Levels).
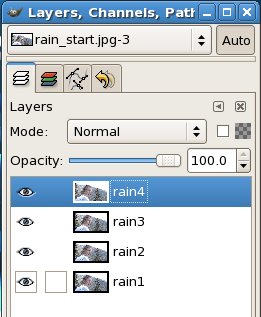
- We have one frame of the animation, let's do some more, for a total of about 4 or 5. Duplicate the base photo, and for each duplicate repeat the previous steps, by adding a transparent layer, fill it with noise, apply blur and motion blur, desaturate, change the mode to screen, ajust levels.

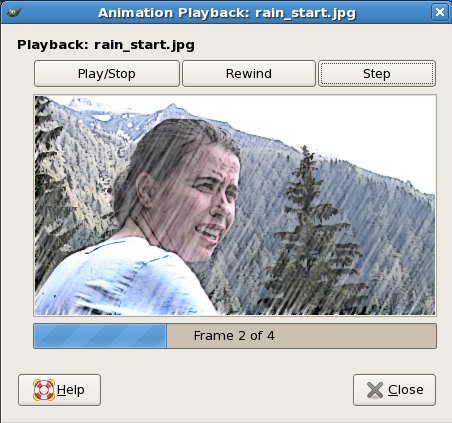
- Merge Down the rain (noise) layers to their photo backgrounds to get the final frames of the animation. You can Preview the end result (Filters > Animation > Playback), I was not happy with how the raindrops look at the edges, so I had to use one of the two possible solutions: either crop a few pixels from the margins or add a border over each frame. As I wanted a gloomy effect, I added a thin black border.
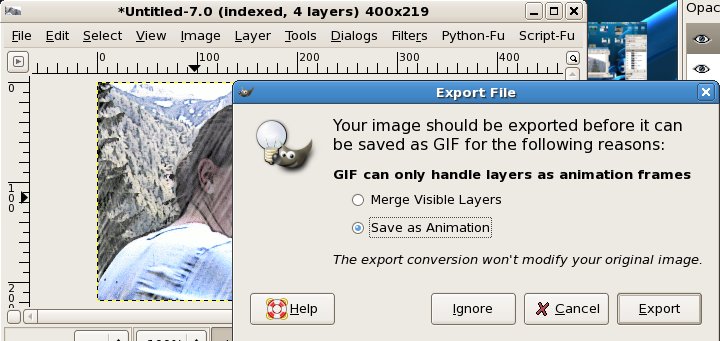
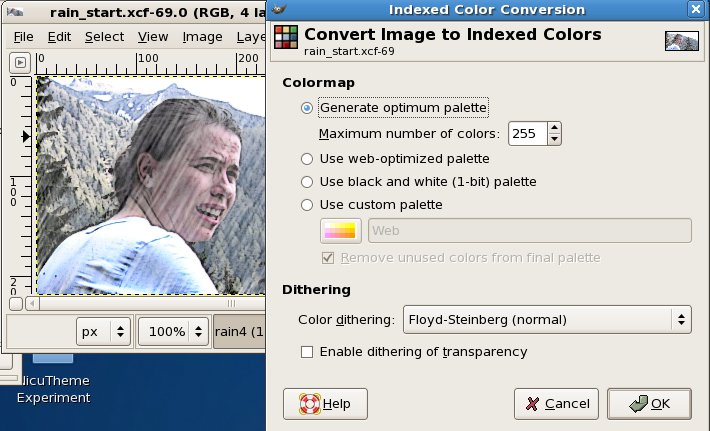
- As we want the final animation in GIF format and GIF uses indexed colors, change the image mode from RGB to Indexed (Image > Mode > Indexed) - better do it manually to control the dithering than leave GIMP to do it by itself. Also GIMP offer an optimization, use it (Filters > Animation > Optimize).

- Save As GIF, be sure to save as animation by selecting the option and specify the animation speed by adjusting the delay (in milliseconds).